✨ Made with Daftpage
Ledger.com/start – Simple 800-Word Beginner’s Guide to Setting Up Your Ledger Wallet
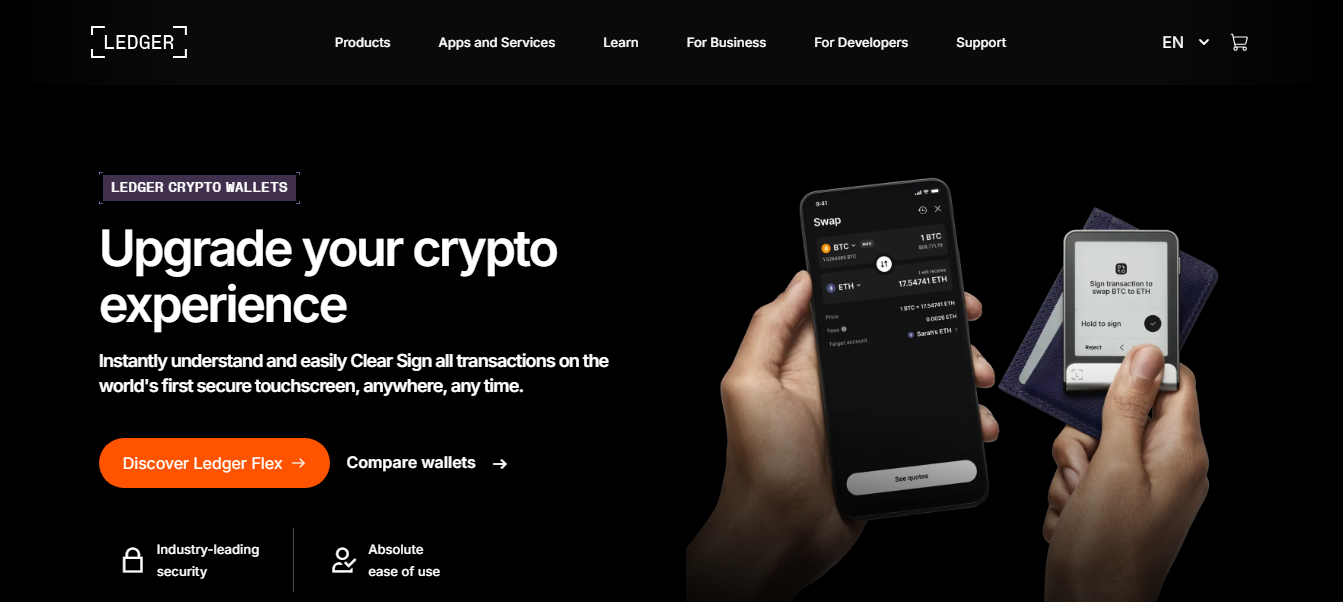
As cryptocurrency becomes more valuable and widely used, protecting your digital assets has never been more important. Many crypto holders choose hardware wallets for maximum security, and Ledger is one of the most trusted names in this space. If you’ve purchased a Ledger Nano S Plus, Ledger Nano X, or another Ledger device, the first step in setting it up correctly is visiting Ledger.com/start — the official, secure onboarding page provided by Ledger.
This article explains what Ledger.com/start is, why it matters, and how to use it to set up your Ledger hardware wallet safely and confidently.
What Is Ledger.com/start?
Ledger.com/start is the authorized setup page that Ledger provides for new users. It guides you through:
Downloading the Ledger Live app
Setting up your Ledger device
Creating your PIN
Saving your recovery phrase
Installing crypto apps
Adding and managing accounts
Because fake crypto websites are common, always use this official URL to avoid scams or tampered software. Never set up your wallet using third-party videos, unofficial guides, or random download links.
Why Ledger Uses Ledger.com/start
Ledger designed this setup page to help beginners avoid mistakes that can compromise their security. When you use Ledger.com/start, you get:
1. Verified software downloads
You download Ledger Live directly from Ledger, ensuring the file is authentic and free from malware.
2. Safe step-by-step instructions
The page walks you through every step of setting up your device, even if you’ve never used a hardware wallet before.
3. Important security guidelines
You learn how to protect your recovery phrase, avoid phishing attacks, and secure your funds long-term.
4. Official support
If you have issues, Ledger.com/start includes links to tutorials, FAQs, and customer support.
Understanding Ledger Hardware Wallets
Before you begin setup, it's helpful to understand why Ledger devices are popular among crypto investors.
Your private keys stay offline.
They never touch the internet, which protects them from online hackers.
Works with thousands of cryptocurrencies.
Ledger supports Bitcoin, Ethereum, Litecoin, Solana, XRP, stablecoins, and thousands of other assets.
Secure element chip.
Ledger wallets use certified secure chips similar to those used in passports and bank cards.
Works with Ledger Live.
The Ledger Live app offers a complete dashboard for managing your crypto.
Using Ledger.com/start ensures you set up all of this in the safest way possible.
Step-by-Step Guide to Using Ledger.com/start
Here is a simple walkthrough of the setup process from beginning to end.
Step 1 – Visit Ledger.com/start
Open your browser and manually type Ledger.com/start.
Don’t rely on search results or ads — some may lead to fake pages.
Once the page loads, you’ll see guided instructions and an option to download Ledger Live.
Step 2 – Download and Install Ledger Live
Ledger Live is the software that lets you manage your hardware wallet.
You can download it for:
Windows
Mac
Linux
Android
iOS (with limited features)
After downloading, install the application and open it.
Step 3 – Start Setup in Ledger Live
When you open Ledger Live, click “Get Started.”
You will be asked to choose your device model and then select “Set up a new device.”
Step 4 – Initialize Your Ledger Wallet
This is the most important part of the setup.
Create a PIN Code
Your Ledger device will ask you to create a PIN between 4 and 8 digits.
This PIN unlocks your device whenever you use it.
Choose something secure but memorable.
Step 5 – Save Your 24-Word Recovery Phrase
Your device will now display a 24-word recovery phrase, one word at a time.
This phrase is the backup for your entire wallet. It is the only way to recover your crypto if:
Your Ledger device is lost
You forget your PIN
Your device gets damaged
To stay safe:
Write the phrase on the card provided
Do not take photos
Do not store it on your phone or computer
Do not share the words with anyone
Keep the paper in a private, secure place
Ledger employees or support agents will never ask for these words.
Your device will then ask you to confirm the recovery phrase to ensure you wrote it correctly.
Step 6 – Connect Your Device to Ledger Live
Plug in your Ledger device and unlock it with your PIN.
Ledger Live will perform a genuine check to confirm your device is authentic and has not been tampered with. This step assures you that your wallet is safe to use.
Step 7 – Install Cryptocurrencies Apps
Each coin requires its own app on the Ledger device.
Examples:
Bitcoin → Bitcoin app
Ethereum → Ethereum app
Solana → Solana app
Go to “My Ledger” in Ledger Live to install the apps you want.
Step 8 – Add Crypto Accounts
Once apps are installed:
Go to Accounts
Click Add Account
Choose the cryptocurrency
Follow the on-screen steps
You can now send, receive, and manage crypto securely using your Ledger wallet and Ledger Live.
Safety Tips When Using Ledger.com/start
Only use Ledger.com/start to download Ledger Live
Never share your 24-word recovery phrase
Avoid storing your recovery phrase digitally
Always verify the receiving address on your Ledger screen before sending crypto
Beware of fake emails or messages claiming to be Ledger support
Your crypto is as safe as the way you manage your recovery phrase.
Conclusion
Ledger.com/start is the safest and most reliable way to set up your Ledger hardware wallet. The site guides you through every step — from downloading Ledger Live to creating your recovery phrase and adding your crypto accounts. With your Ledger device properly configured and your recovery phrase stored securely, your digital assets remain protected even if your computer or phone becomes compromised.